 Coziness and warmth in the house are created by books and cute figurines, photo frames and memorabilia. Sometimes there are so many of them that it is not always possible to allocate a separate place for each, and as a result the house turns into a warehouse of things that turn out to be in the most unexpected places. A similar problem can be solved using a conventional rack.
 A shelving unit is a very functional furniture that is used literally in every house. Such a product is appreciated because of the many shelves and the ability to place it in any part of the home. You can buy any furniture in stores, but the more you overpay the manufacturer and a bunch of intermediaries, it is easier to do it yourself, especially since the design itself is simple, you just need to determine the type of product. Think about where it will be located, most often they are:
- in the hallway and hallway;
- on the loggia;
- under the stairs (if it is a private house or a two-story apartment);
- in the garage and basement.
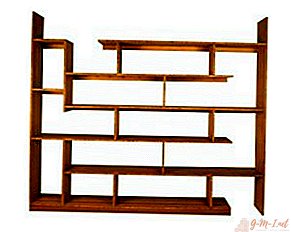
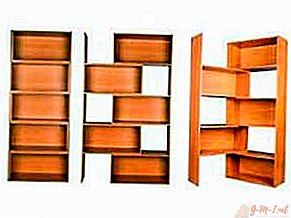
The simplest type of rack is two side racks and shelves, this design does not have a rear wall, and there are no side ones. It is placed mainly close to the wall. A more interesting option would be a rack-lattice, you can assemble them in different ways, and arrange shelves as convenient for you. Often, such products are attached to the wall with hooks, and are considered suspended.
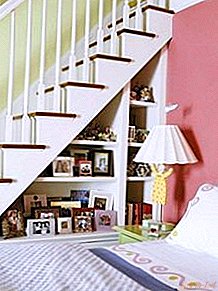 If housing allows, then you can arrange shelves under the stairs, this will be an excellent solution to save space, using it as productively as possible. Built-in structures in the niche facilitate the manufacturing process to a minimum, because in this case only shelves will be needed. A shelving ladder is a design where the lower shelves are made in the form of drawers, steps, with which you can reach the upper shelves.
The mobile rack is equipped with wheels, it is convenient to move and disassemble, it will perfectly separate the room into separate zones. As you can see, you can choose the appropriate option, and the material for the construction will be plywood. Such a product will come out not very costly, but very functional.
IMPORTANT! Before proceeding with the manufacture, determine the size, design and location of the product.
Before you get down to business, decide what the product is intended for, its height, depth and width will depend on it. The best thing is if the rack is high, to the ceiling. Then it can be strengthened with additional hooks.
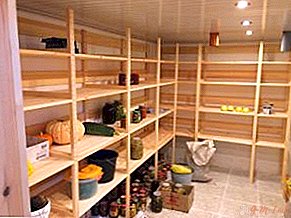 Cans with preservation, dishes, books and other similar things are not small in weight. Shelves for such a load should be made no wider than 25 cm, and their length should be 90 cm. With large parameters for such a weight, the shelves can bend and break.
For non-heavy objects, the width of the shelves can reach 50 cm, and 150 cm in length. To make it convenient to get items closer to the wall, do not make shelves wider than 50 cm.
Any design that you are going to make will require a simple drawing. A schematic drawing will help you see the final result, so take this phase of work seriously and try to transfer all your ideas to paper.
IMPORTANT! Do not forget that the top of the product should be designed taking into account that light objects will be stored on the shelves, and heavier ones below. This will help balance the load on the entire structure.
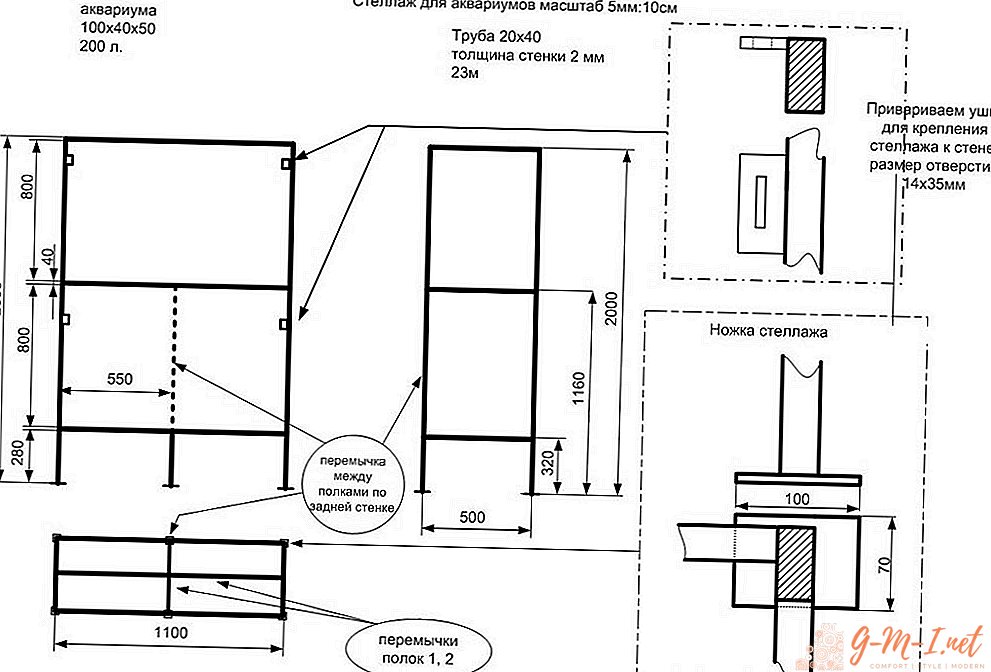
Sample drawing:
Plywood is one of the most acceptable materials for the manufacture of this kind of furniture:
- well withstands loads;
- it is convenient to handle;
- non toxic;
- light enough;
- resistant to high humidity.
The entire manufacturing process can be conditionally divided into stages:
- drawing preparation;
- preparation of tools;
- material cut;
- grinding;
- installation of the structure.
Tool preparation
Almost everyone in the house has the necessary set of tools in order to manufacture parts and assemble the structure. In this case, it is not necessary to be a carpenter or a joiner, because the tools are the most ordinary:
- plywood;
- shelf holders;
- corners made of metal or plastic;
- self-tapping screws, drill;
- jigsaw, screws;
- drill, hammer and tape measure.
For mobile shelving, wheels may be required.
Creation of rack elements and its installation
The structure must be strong to withstand the load, so make the appropriate base from a thick board. Its length should be equal to the length of the rack. The step between the bars should not exceed 60 cm.
- Use self-tapping screws as a fastener, strengthen the coal strips.
- If the structure will have side walls, cut them out of plywood.
- Make grooves for the shelves.
- The thickness of the shelves should be at least 2.5 cm. Install them, securing with screws.
- Place the finished rack on the surface and fix it.
IMPORTANT! When assembling the product, use a level to avoid distortions.
The finished product is varnished and decorated to your taste. Here is such a seemingly complex piece of furniture you can create with your own hands, using simple plywood.
Leave Your Comment